by christine.mulligan.Admin | Oct 8, 2015 | Pet Health Supplements, Uncategorized

Looking after a newborn foal comes with huge responsibilities, including how the foal will be fed, weaned, handled and educated. These events will shape your young horse’s life and play a vital role in their future.
Below are 8 top tips to assist you with caring for a newborn foal.
1. Ensure your foal receives plenty of colostrum
Once your foal has arrived into the world it is important to ensure that they receive an adequate amount of high quality colostrum. Colostrum is the first mother’s milk available from the mare to the foal straight after birth. It is thick, creamy, and yellow-coloured compared to the white appearance of normal milk and contains high concentrations of antibodies, protein, transfer factors, minerals and other essential nutrients necessary for foal survival that provides immunity for the foal against diseases.
In the first few hours of life, a newborn foal is entirely dependent on the maternal antibodies being absorbed following ingestion of colostrum from the mare. If the foal does not receive enough colostrum its risk of infection will be high and chance of survival low. The antibodies are absorbed by the foal’s intestinal tract for up to 36 hours after birth, but absorptive ability begins decreasing drastically at 12 hours after birth. Therefore it is very important that the foal receives this colostrum before this time has passed.
2. Ensure your foal has plenty of drinking water
You must ensure that water is available for the mare and foal at all times and the larger the trough the better. Water assists the mare with the production of her milk and it is also another form of liquid for the foal to drink. Although your foal won’t drink like the mare, they will play with the water and when it is time to wean, they will quickly revert to drinking it.
3. Ensure there is good shelter for your foal
A foal requires special care and it is important to keep your foal warm and dry. You must provide a clean, dry, well ventilated but draught-free environment that is sheltered from the wind and rain. Foals should be stabled at night when the weather is wet and cold and covered with a lightweight rug for additional warmth. If the weather is warm and dry there is no need to stable the foal but a companion should be available if they are left in a paddock or yard overnight.
4. Ensure your foals paddock is a safe area
As an owner of a newborn foal you should always ensure that their paddock is a safe area. A good foal pasture needs to be clean, free from obstacles and allows your foal daily access to outside paddocks for exercise and sunlight. An ideal paddock size is half a hectare per foal. Paddocks should be well drained, sheltered and rotated, if possible, and kept clean with droppings collected daily. Fences must be safe, secure, highly visible and high enough so that the mare cannot jump over them.
5. Introduce your foal to a Creep Feeder Program
Foals will actively seek out solid food within the first few days of life and many will try to consume their mother’s feed. This is why most breeders use a Creep Feeder Program. Creep feeding is simply a method of feeding foals so that they have access to feed where the mare doesn’t. A simple creep feeder can be made from a small pen that allows the foal to enter and exit at any time but the mare cannot fit through. It consists of an internal feed trough which contains balanced, high quality, concentrated pellets prepared especially for young nursing foals prior to being weaned.
Their feed must include high-quality sources of amino acids and well balanced levels of vitamins and minerals including calcium, phosphorus, copper, zinc and selenium. Providing foals with a creep feeder has been shown to improve the growth and development of young foals and decreased the stress of weaning later on in their life.

6. Assist you foal in the weaning process
By the time your foal is 5 months old, their digestive tract has developed sufficiently enough to process grain and they are psychologically ready to leave their mother. To begin the weaning process you first start by cutting back on the mare’s calories to help reduce her milk production. About a week prior to weaning, cut the mare’s calorie intake back by approximately 20 percent, by halving the grain ration. Three days prior to weaning, cut calories again to about 20 percent by removing all grain. This gradual tapering of the mare’s feed intake helps her to begin drying up so she will be less likely to have problems with a swollen udder or mastitis. Secondly, less milk means a hungrier foal who will become more interested in other sources of food and water.
The enormous daily weight gain during your foal’s first six months gradually tapers off as they approach a year old. Continue to feed good-quality hay supplemented with a grain-mix formulated to balance the minerals in the hay. As the yearling approaches 2 years of age, they will have gained more than 90 percent of their adult body weight and height.
7. Ensure your foal has plenty of exercise
It is important to allow your foal free-choice exercise on a daily basis. This is paramount in helping them build their bone density, strengthen their muscles and tendons, and develop their coordination. Confinement in a stall should never exceed any more that 10 hours. Sunshine and romping through the pasture unfettered is great exercise for your foal.
8. Ensure you train your foal while they are young
From birth through to weaning and up until their first birthday is the best time to train your new foal. During this time, young horses are most curious, least fearful and mostly open to the formation of new relationships and new activities. It is during this time that you should teach your foal to accept handling and husbandry behaviour.
Foals should also be taught to:
- wear a halter;
- lead;
- accept the feel of a blanket; and
- accept brushing, as well as general body and hoof handling.
With a foundation of basic training, you can expand your foal’s education by including such things as standing tied, accepting the presence of common things like paper bags, plastic tarps, clippers, being loaded onto a trailer and walking over unusual surfaces.
by christine.mulligan.Admin | Aug 3, 2015 | Pet Health Supplements
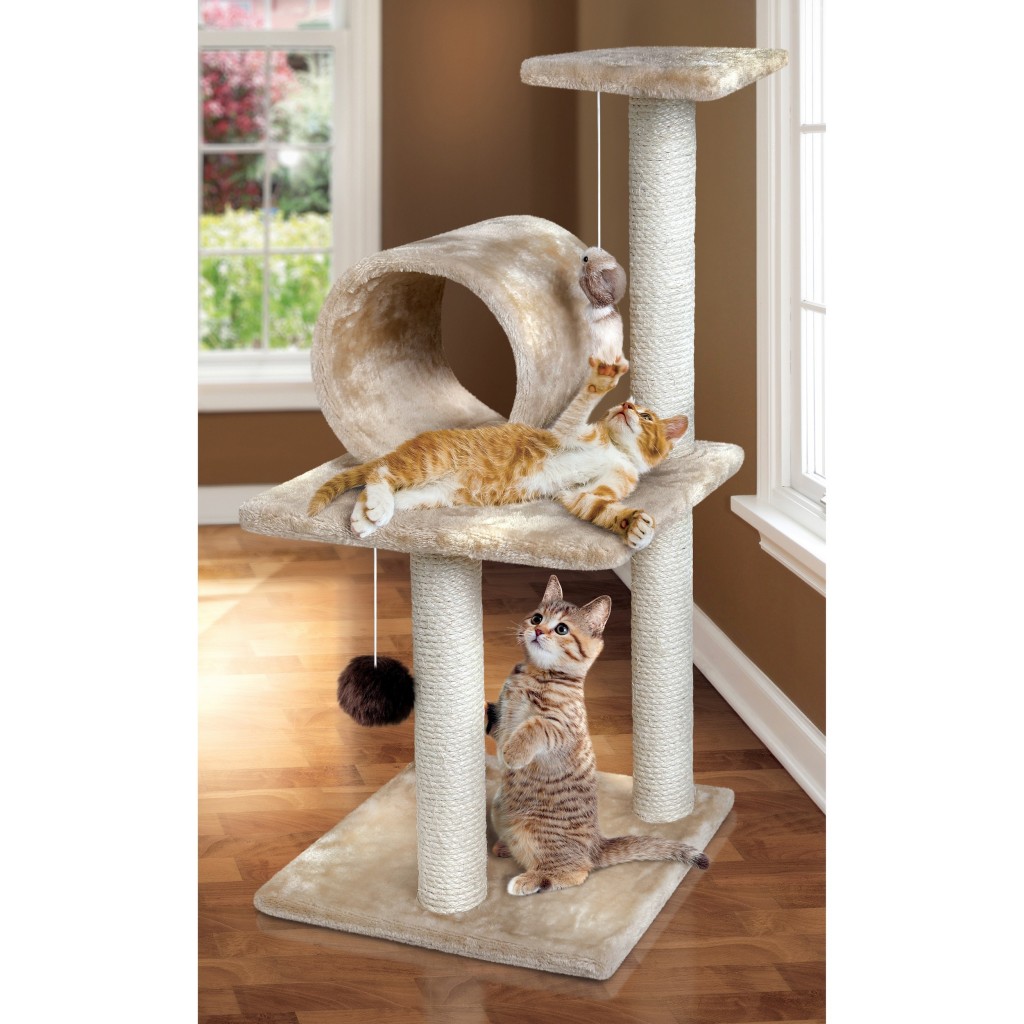
Bringing a new kitten into your home is a very exciting time.
Just imagine all the fun you can look forward to in the years ahead. A kitten is a great pet and a wonderful source of endless companionship and entertainment for their owners.
Every kitten has a unique personality; some are shy while others are confident. Whatever their character, this is potentially a traumatic transition for kittens as they leave their mothers and siblings for the first time to go to a new home.
Here are 8 tips for making your new kitten’s transition a little easier.
1. Nutrition and Water
When feeding your kitten, you need to supply them with all of the body building nutrients they require to grow and develop. Just as babies need food that’s designed to give them a healthy start in life, kittens need the right balance of vitamins and nutrients for them to thrive. The best food for kittens in their first four weeks is their own mother’s milk. This provides all the required nutrients they need and passes on vital antibodies to protect them against various diseases. By 8 weeks, kittens should be completely weaned from their mothers and it becomes your job to provide a complete and balanced diet for them.
Kittens should be fed a combination of high quality kitten food and natural foods. Natural foods include humane-grade raw meat such as diced up raw lamb and pieces of raw chicken meat. It is important that all raw food offered to kittens should be fresh. Kittens aged between 6 and 12 weeks need to be fed 4 or more small meals a day. At 12 weeks they should be fed 3 times a day and by the time they reach 6 months they can then have twice daily feeding. By 12 months, kittens are ready for cat food.
2. Bedding
Although your kitten may want to share your bed with you it is important to provide them with a warm, dry bed of their own. There are many different cat beds available in all forms and sizes and in a huge range of prices. You don’t have to spend a lot of money as your kitten will be perfectly happy in a cardboard box lined with a blanket, baby quilt or lamb’s wool cover. The important thing is that they have a warm place to sleep and cuddle up in. If the weather is really cold put a hot water bottle under their blanket. Try to make your kitten’s bed snug. Kittens love to curl up in snug areas and can sleep between 15 to 18 hours a day!
When you first bring your kitten home, they may miss their mother and siblings. Your kitten may meow in confusion or wake up during the night. Ease their stress by picking them up, stroking him/her while speaking in a soothing tone. You can also wrap a ticking clock in a towel and place it near their bed to remind them of their mother’s heartbeat.
3. Basic Training
Your kitten needs to learn the house rules from day one – for example, that climbing the curtains, sharpening their claws on the sofa, stealing food and frightening the budgie, are not acceptable behaviour. If they get into mischief, a sharp ‘No’, or a clap of the hands should be enough to distract them. Never smack a kitten as they won’t understand. Once you have made a rule be consistent and ensure that all of the family follows the same rules, to avoid confusing your kitten.
You will never stop a kitten from scratching but you can divert their claws from your sofa, furnishings or carpet to something more appropriate like a scratching post. If you are handy you can make your own scratching post. If not, there are many scratching posts available that can be purchased in a price range from $10.00 up to over $500.00.
Once you have a scratching post in your home, place their paws onto the post and simulate scratching. Praise them and say ‘Good Kitty’ and stroke them to make it an enjoyable experience. Over the coming weeks reinforce this acceptable behaviour with praise whenever they use the scratching post. Never punish them for scratching inappropriately but praise them well when they do the right thing. It’s all about rewards and pleasant experiences.
Kittens can also get tangled or choke on anything swinging or hanging. Therefore, keep your new kitten safe by securely anchoring drape or blind cords out of reach. To prevent chewing on electric and phone cords, bundle them with a cord manager and fasten away from kittens’ reach.
Rubber bands, jewellery, Christmas decorations, balloons and other small items are dangerous to kittens that may swallow them. Remove poisonous plants, and roach or ant traps and make sure the toilet lid is down. Keep kitchen and bathroom cabinets closed so your kitten doesn’t encounter bleach, detergent, dental floss and other household items when exploring.
4. Grooming
It is a good idea to accustom your kitten to being groomed from an early age. Longhaired cats should be groomed daily while shorthaired cats only need grooming once or twice a week. If you start early enough, kittens love being groomed. Most will even learn to come running when they see the brush in your hand! Grooming is good for your kitten as it removes dust, dead skin, excess loose hairs, grass seeds, tangles and reduces the amount of fur shed during the moulting season in autumn and spring. Grooming isn’t just about making kittens look good – it helps to keep their coats and skin healthy and offers you an opportunity to develop a bond. Always be gentle and make grooming a rewarding and pleasant experience.
5. Litter Tray Training
Teaching your kitten to use a litter tray is not difficult. Cats are instinctively clean and fastidious and toilet training your kitten is relatively simple. The basic requirements are a litter box, some kitty litter and a little time and patience. Keep the litter box in a corner or secluded area of your home. Place your kitten gently into the litter box when he/she is most likely to use it, for example, after meals, long naps, first thing in the morning and last thing at night. Do not allow your kitten freedom of the house until you are certain he/she is using the litter tray regularly. It’s also important to keep the litter tray clean. Many cats will not use soiled litter. A sieve or scoop designed for cleaning cat litter is available at all pet supply stores and departments.
6. Nails
Active healthy kittens rarely need their nails cut as they file them outdoors during activities, like climbing trees. However, indoor cats will need to have their nails clipped regularly. Check your cat’s nails, especially the back paws, once a week. If their nails are showing when the cat is resting and they are retracted – they will need trimming. Ask your vet or groomer to show you how to trim nails properly if you are unsure. Never cut them too short! When you check their nails, also check the paw pads for any cuts or foreign bodies and check between their toes for any signs of soreness.
7. Microchips
It is important that your kitten can be identified if they become lost or injured away from home. A microchip is a tiny electronic device – the size of a grain of rice – that is injected under the loose skin at the back of the kitten’s neck. The microchip number is recorded on a National Pet Register with details about the kitten and the owner. Should your pet stray or become lost, vets, animal shelters and local councils can scan your pet for a microchip and contact you via the database.
8. Collars
Another form of identification for your kitten is putting a collar on them which contains your contact details if they become lost. Collars can be introduced to kittens at 6 months of age and older. Put the collar on them on a Friday night and keep a close eye on them over the weekend. You can expect your kitten to be a bit freaked out and annoyed initially but that is normal. No matter what type of collar you choose for your kitten, a proper fit is crucial. You should be able to fit two fingers between your kitten’s neck and the collar. Make sure his/her ID tag or information is on the collar. You may decide to introduce the collar first, and after your kitten gets accustomed to the collar, then add the tags. But don’t forget to add the tag or have ID information sewn into the collar itself.
Suggestion
Kittens have so much energy; they need to stay active to be happy. If you bring home two kittens together rather than one, they’ll focus on play-fighting, scratching and wrestling with each other, and are less likely to feel lonely. They are also a lot more fun to watch.
by christine.mulligan.Admin | Jun 15, 2015 | Pet Health Supplements
 The arrival of a new puppy into your home is a wonderful time, but it can be an anxious one too.
Owning a new puppy is a big responsibility, and although puppies can be a lot of fun, they require a lot of attention, love and dedication.
Keeping them safe, happy and healthy takes planning and patience but the effort will pay off, as your new puppy grows into a confident, affectionate new family member.
Remember, the more love and care you give your puppy, the happier and healthier they will be!
Below are 8 top tips for caring for your new puppy once it gets home.
- Naming your puppy – Agree on a name ahead of time and make sure everyone uses it all the time when talking to your puppy. This will help him/her recognise his/her name and avoid confusion.
- Supervise your puppy – Supervise your puppy at all times to ensure that he/she does not get into mischief, or cause damage to themselves or the home. The rule of thumb for dog training is “set the dog up for success”. Supervise your puppy until he/she has learned what they are allowed to chew, and where they are supposed to eliminate. Keeping the puppy on a 3 metre remote leash is an excellent way to keep him/her in sight, and to train them not to wander off. This is particularly helpful with a highly investigative puppy.
- Puppy pre-school – Puppy pre-school is a must for all puppy owners looking to give their puppy the very best start in life and the opportunity to grow into a well behaved, sociable dog. Classes are designed for puppies between 6 to 12 weeks of age, as it is much easier to teach a puppy the correct behaviour at this young age than it is to correct bad behaviour later in life. Owners will learn positive reinforcement methods for training their puppy as well as being given an overview on socialisation, general healthcare, nutrition and more.
- Toys for puppies – Your puppy will be a ball of boundless energy, so make sure you get plenty of toys, including both chew toys and soft toys. Puppies should be given chew toys that interest them and occupy their time. You are better going for hard rubber chewing toys that can stand up to gnawing sharp puppy teeth. And because many of them are hollow, you can place a treat inside which will keep them happy for hours.
- Exercise – Puppies need exercise every day to stay fit and healthy. Exercise is an important aspect of your puppy’s day-to-day care and this can take the form of walks; play dates at the park or obedience training. A brisk walk is a dog’s favourite part of the day – they are able to explore the neighbourhood and spend time with you. Exercise also provides various health benefits and provides a good opportunity for your dog to socialise with other dogs. Puppy playtime and exercise is more than just a fun time for your puppy, it’s vital for their physical and mental health.
- Regular Grooming – Regular grooming is a healthy habit for your puppy. Make grooming seem exciting and give your dog plenty of praise when he/she sits still for you. You may also want to give a food reward – ideally a piece of your dog’s normal food – for good behaviour. And if you start grooming when your dog is a puppy, those positive reinforcements will make the process so much easier when he/she gets older.
- Buy two metal stainless steel bowls – one for food and one for water – Your puppy’s food and water should be placed into either a stainless steel or ceramic bowl. Plastic dog bowls are less expensive, but they develop tiny scratches that can house bacteria, cause infections and trigger puppy acne. If your puppy is a small dog breed, a large bowl is fine for water. But if they are going to sprout into a large or giant dog, you should consider something bigger that constantly fills.
- Having a well balanced diet – A healthy puppy is a happy puppy. The first year of life is critical in your puppy’s development as he/she has a lot of growing to do and needs a well balanced diet. As you feed your puppy, you need to supply all the body building nutrients it requires to grow and develop; protein for strong muscles, water for hydration, calcium for strong bones and teeth, iron for healthy blood and enough calories for all the energy a puppy burns.


 The arrival of a new puppy into your home is a wonderful time, but it can be an anxious one too.